Crafting Fun: Build Your Own DIY Pet Obstacle Course
Crafting Fun: Build Your Own DIY Pet Obstacle Course
In a world where creativity meets companionship, there’s no better way to bond with your furry friend than through play.Imagine an exciting space where your pet can jump, weave, and dash, all while you witness the joy in their eyes. Welcome to the delightful realm of DIY pet obstacle courses! This article invites you to roll up your sleeves and embrace the spirit of crafting as we explore how to transform ordinary household items into an engaging playground for your beloved pets. Whether your companion is a sprightly pup or an adventurous feline, building a personalized obstacle course promises not only hours of fun but also strengthens the connection you share.So grab your tools and let’s unleash your imagination—it’s time to turn your backyard or living room into a thrilling adventure zone tailored just for your four-legged friend!
Table of Contents
- Designing the Ultimate Pet Playground for Fun and Fitness
- Essential Materials for Building Safe and Engaging Obstacles
- inspiring Creative Course Layouts to Challenge Your Pet
- Tips for Training your Pet to Navigate the Obstacle Course
- Future Outlook
Designing the Ultimate Pet Playground for Fun and Fitness
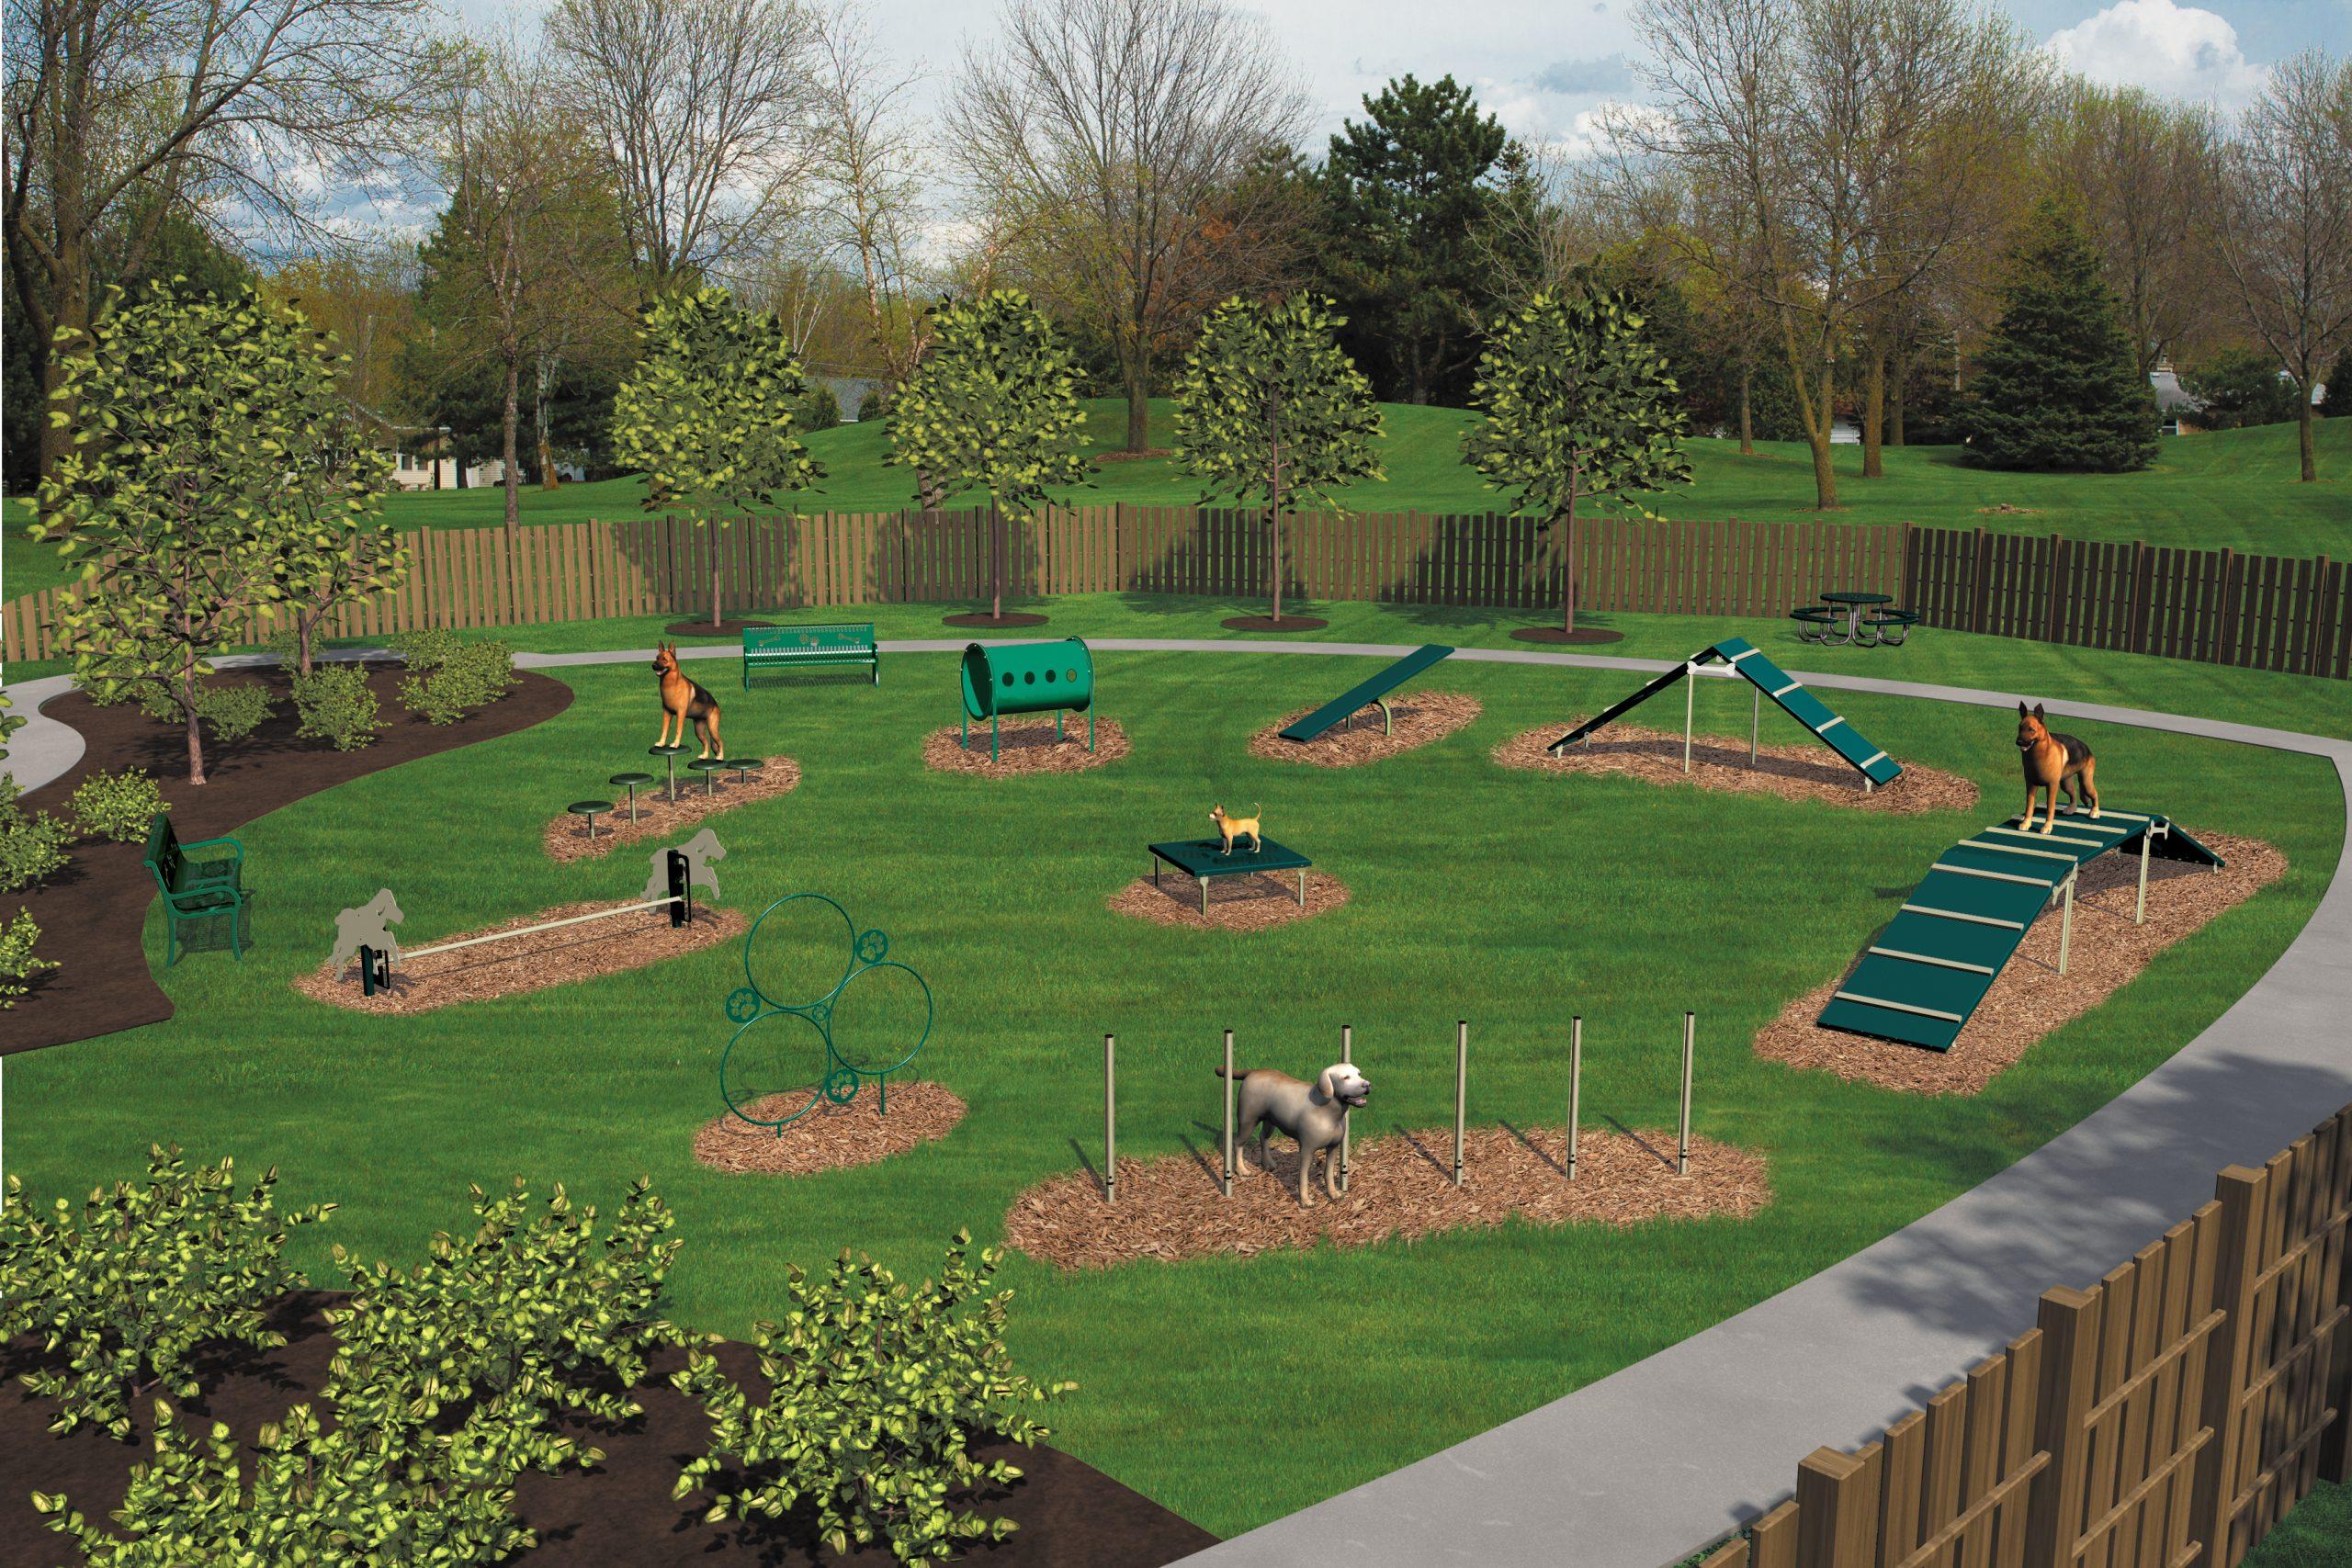
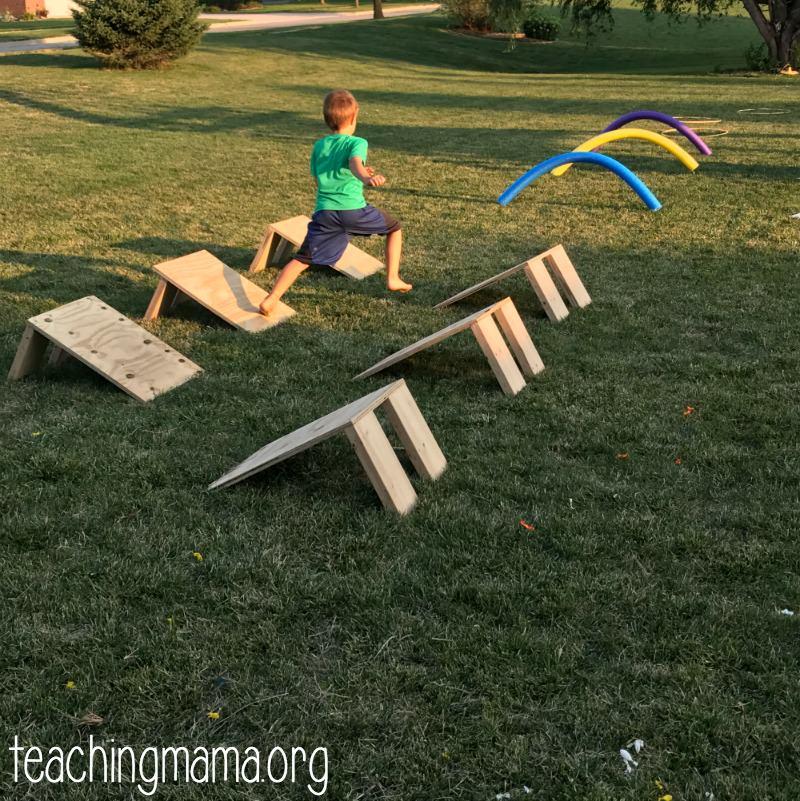
transforming your backyard into a pet paradise requires a perfect blend of creativity and safety. Start by identifying the available space and considering your pet’s preferences. Use materials like PVC pipes, wood, or even repurposed tires to create engaging structures. Here’s a quick list of essential features to incorporate into your DIY pet playground:
- Tunnels for crawling and exploring
- Jumps for agility training
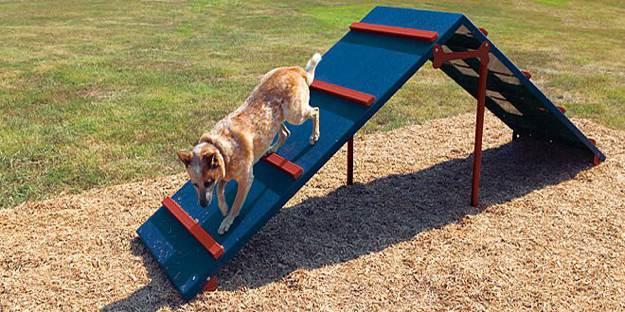
- Climbing structures for strengthening muscles
- Water features for cooling off on hot days
- Sensory areas with various textures and scents
Equally importent is ensuring that your designs are not only fun but also safe. Start by checking for any sharp edges or hazards, and choose non-toxic materials whenever possible. Consider adding soft landing areas with mulch or grass to cushion any falls. Here’s a simple table to help you keep track of important safety considerations:
| Safety Feature | Description |
|---|---|
| Non-Toxic Materials | Ensure all items are safe for pet interactions. |
| Rounded Edges | Avoid sharp corners to prevent injuries. |
| Visibility | Keep the area well-lit and free of obstructions. |
| Regular Inspections | Check for wear and tear to maintain safety. |
Essential Materials for Building Safe and Engaging Obstacles
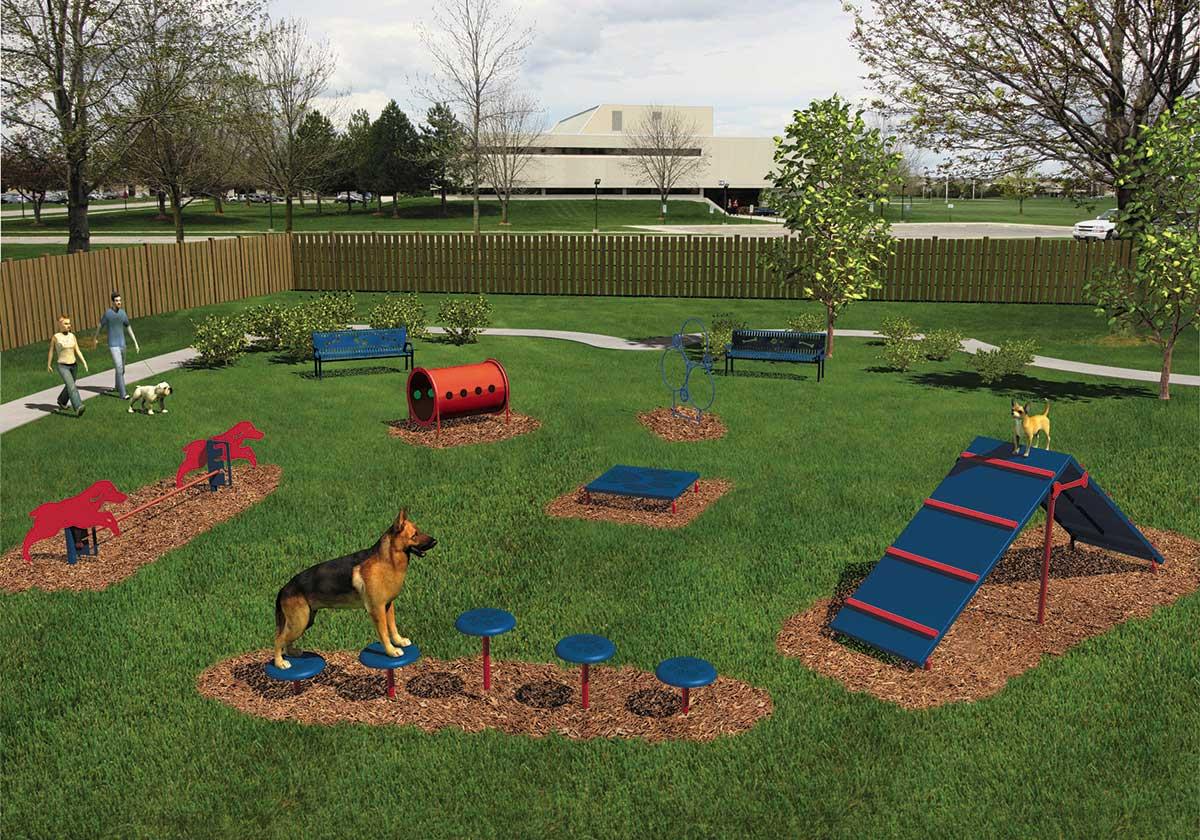
To create a vibrant and safe DIY obstacle course for your pets, selecting the right materials is crucial. start with a sturdy base—think wood planks, PVC pipes, or even durable cardboard. These materials will provide the framework and stability needed for balancing and jumping. For the jumping obstacles, you might want to consider using soft foam or rubber mats; they cushion your pet’s landings and reduce the risk of injuries. Additionally, non-slip materials can help maintain grip and provide safety during various activities.
Next, enhancing the aesthetics and appeal of the obstacle course is essential for keeping your pets engaged.Use brightly colored paints or weatherproof coatings for wood and metal components, which not only makes it visually stimulating but also protects your materials from the elements. Incorporate various textures like astroturf or carpet remnants in your design to entice your pet’s sense of touch. Lastly, ensuring that all materials are pet-safe and non-toxic is vital; always check for certifications and labels that assure their safety for animal use. Below is a simple table summarizing ideal materials:
| Material Type | Purpose | Safety Feature |
|---|---|---|
| Wood planks | Balance beams | Sturdy and durable |
| PVC Pipes | Agility jumps | Lightweight and flexible |
| Foam Mats | Landing surfaces | Cushioned support |
| Astroturf | Surface texture | Pet-friendly |
Inspiring Creative Course Layouts to Challenge Your Pet
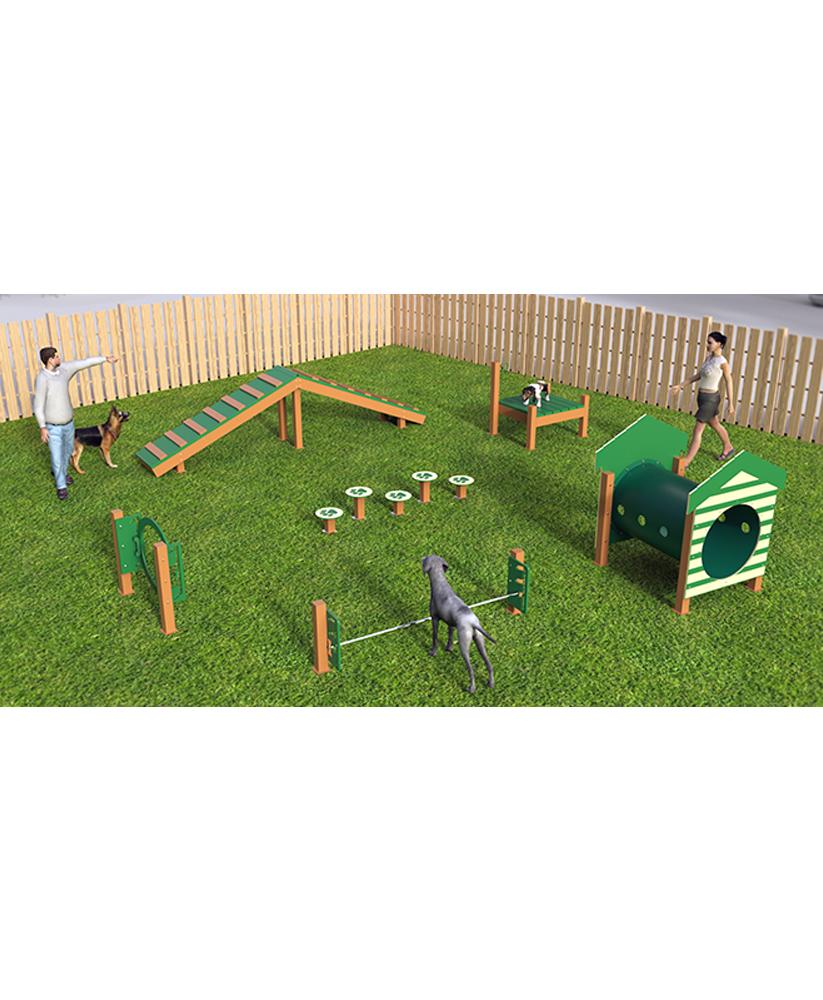
Transform your backyard or living space into a thrilling adventure zone for your furry friends! Utilize common items around the house to create engaging challenges that will stimulate your pet both physically and mentally. Some fun ideas to incorporate into your DIY obstacle course include:
- Tunnels – Use cardboard boxes or collapsible fabric tunnels for your pet to dash through.
- Hurdles – Set up broomsticks balanced on crates or pots to encourage jumping.
- Weaving Poles - Line up cones or sticks to guide your pet in a weaving pattern.
- Balance Beams – Create a secure beam using a plank of wood elevated up on bricks.
To keep track of your pet’s progress and make it a bit competitive, why not create a challenge table? This table can help you set up different courses and record your pet’s times and achievements. Here’s a simple structure:
| Course Name | Time to Complete | Notes |
|---|---|---|
| Speedster Challenge | 45 seconds | Jumping and weaving |
| Trendsetter Track | 1 minute | Tunnels and balance beam |
| Ultimate Adventure | 2 minutes | all obstacles combined |
Tips for Training Your Pet to Navigate the Obstacle course
Training your pet to navigate an obstacle course can be an exhilarating experience for both you and your furry friend.Start with simple obstacles, allowing your pet to gain confidence before moving to more challenging ones.Use positive reinforcement techniques such as treats, praise, or toys to encourage them to complete each and every obstacle. As a notable example, if your pet successfully jumps over a hurdle, reward them instantly to reinforce the behavior. Consistency and patience are key; practice regularly, ensuring training sessions remain fun and engaging to maintain your pet’s enthusiasm.
Consider breaking the training into small, manageable sessions to prevent overwhelming your pet. Here are some tips you can incorporate during practice:
- Begin with one obstacle at a time, gradually increasing complexity.
- Use visual or physical cues to guide your pet.
- Keep sessions short—around 10-15 minutes—to retain their focus and energy.
- Add variety onc your pet masters a course, preventing boredom.
A progress table can be a helpful tracker for both you and your pet:
| Obstacle | status | Comments |
|---|---|---|
| Jump Over Hurdle | ✅ Mastered | Excited to jump! |
| Weave Through Cones | 🔄 in Progress | Needs more practice. |
| Balance Beam | ❗ New | Cautious but curious. |
Future Outlook
As we wrap up our journey into the exciting world of DIY pet obstacle courses, we hope you feel inspired to take on this creative project. Not only does building a custom play area for your furry friend offer countless hours of fun and exercise, but it also strengthens the bond between you and your pet. Remember,the best designs come from personal touches,so let your imagination run wild as you construct jumps,tunnels,and weave poles that suit your space and your pet’s unique personality.
So gather your materials, roll up your sleeves, and embark on this playful adventure.Whether you have a sprightly puppy eager to play or a curious cat ready to explore, each obstacle you create will spark joy and keep your pet engaged. the real goal isn’t just about completing the course – it’s about the laughter, the cheers, and the wagging tails that fill your backyard. Happy crafting, and may your DIY pet obstacle course bring endless joy to you and your beloved companions!


